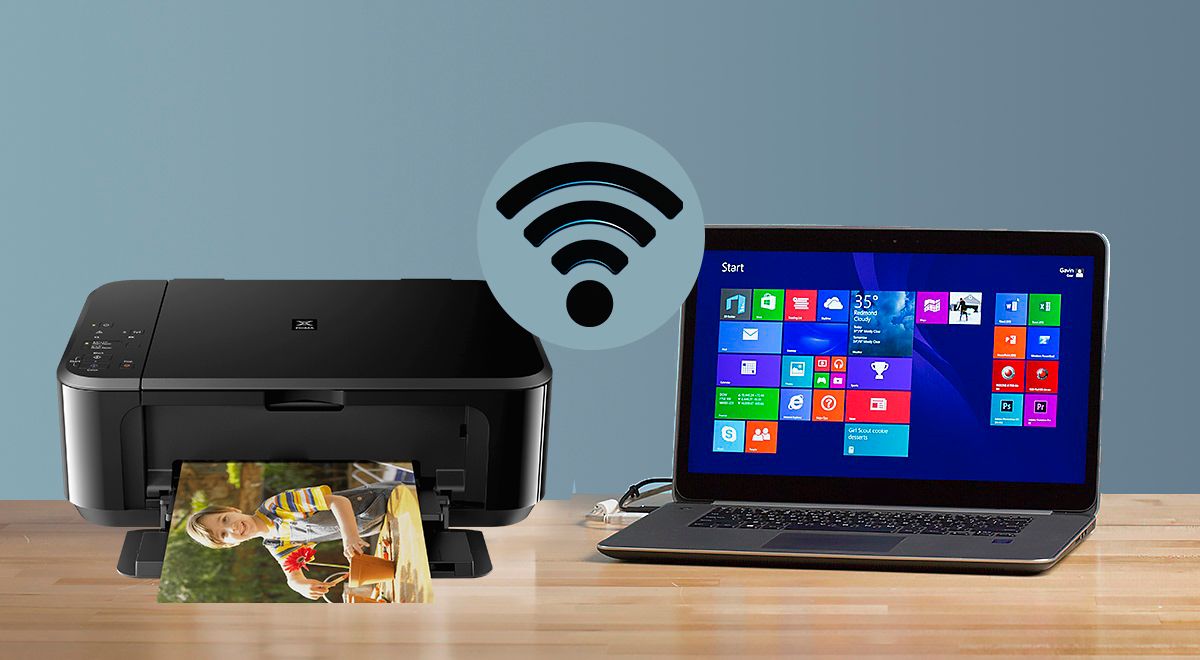
Wireless Printer Setup Made Easy
Setting up a wireless printer doesn't have to be difficult. Whether you're connecting to a home Wi-Fi network or configuring your printer to work with multiple devices, this step-by-step guide will walk you through the process to get your wireless printer up and running in minutes.
What You Need Before You Begin
- A wireless printer with Wi-Fi capability
- Your Wi-Fi network name (SSID) and password
- A smartphone, tablet, or computer connected to the same Wi-Fi network
Step-by-Step Wireless Printer Setup
-
Power On and Prepare the Printer:
- Unbox and plug in the printer.
- Turn it on and make sure it's in a ready state.
-
Connect the Printer to Wi-Fi:
- Use the control panel or touchscreen on your printer.
- Navigate to the Wi-Fi or Network Settings menu.
- Select your Wi-Fi network and enter the password.
- Wait for the printer to confirm the connection.
-
Install Printer Software or App:
- On your computer, visit the printer manufacturer’s website and download the setup utility.
- For smartphones or tablets, download the official app (e.g., HP Smart, Canon PRINT, Epson iPrint).
- Follow the prompts to detect and install the printer.
-
Print a Test Page:
- Once installed, try printing a test page to ensure everything is working properly.
Tips for a Smooth Wireless Setup
- Place the printer within range of your Wi-Fi router.
- Keep your network password handy during setup.
- Restart your router and printer if they’re not communicating.
- Disable VPNs or firewalls temporarily if the setup fails.
Adding the Printer to Other Devices
- Repeat the software installation process on each additional device.
- Use AirPrint for Apple devices or Google Cloud Print (if supported) for Android and Chromebook.
- Ensure all devices are connected to the same Wi-Fi network as the printer.
Troubleshooting Wireless Printer Setup
- Printer not found? Reconnect it to Wi-Fi and restart the router.
- Check for firmware updates on the printer's settings menu.
- Use a USB cable temporarily to complete setup if wireless fails, then switch to Wi-Fi mode.
Conclusion
Wireless printers make printing more flexible and convenient. With just a few simple steps, you can connect your printer to your Wi-Fi network and enjoy cable-free printing from all your devices. Follow this guide to ensure a smooth and successful setup experience.